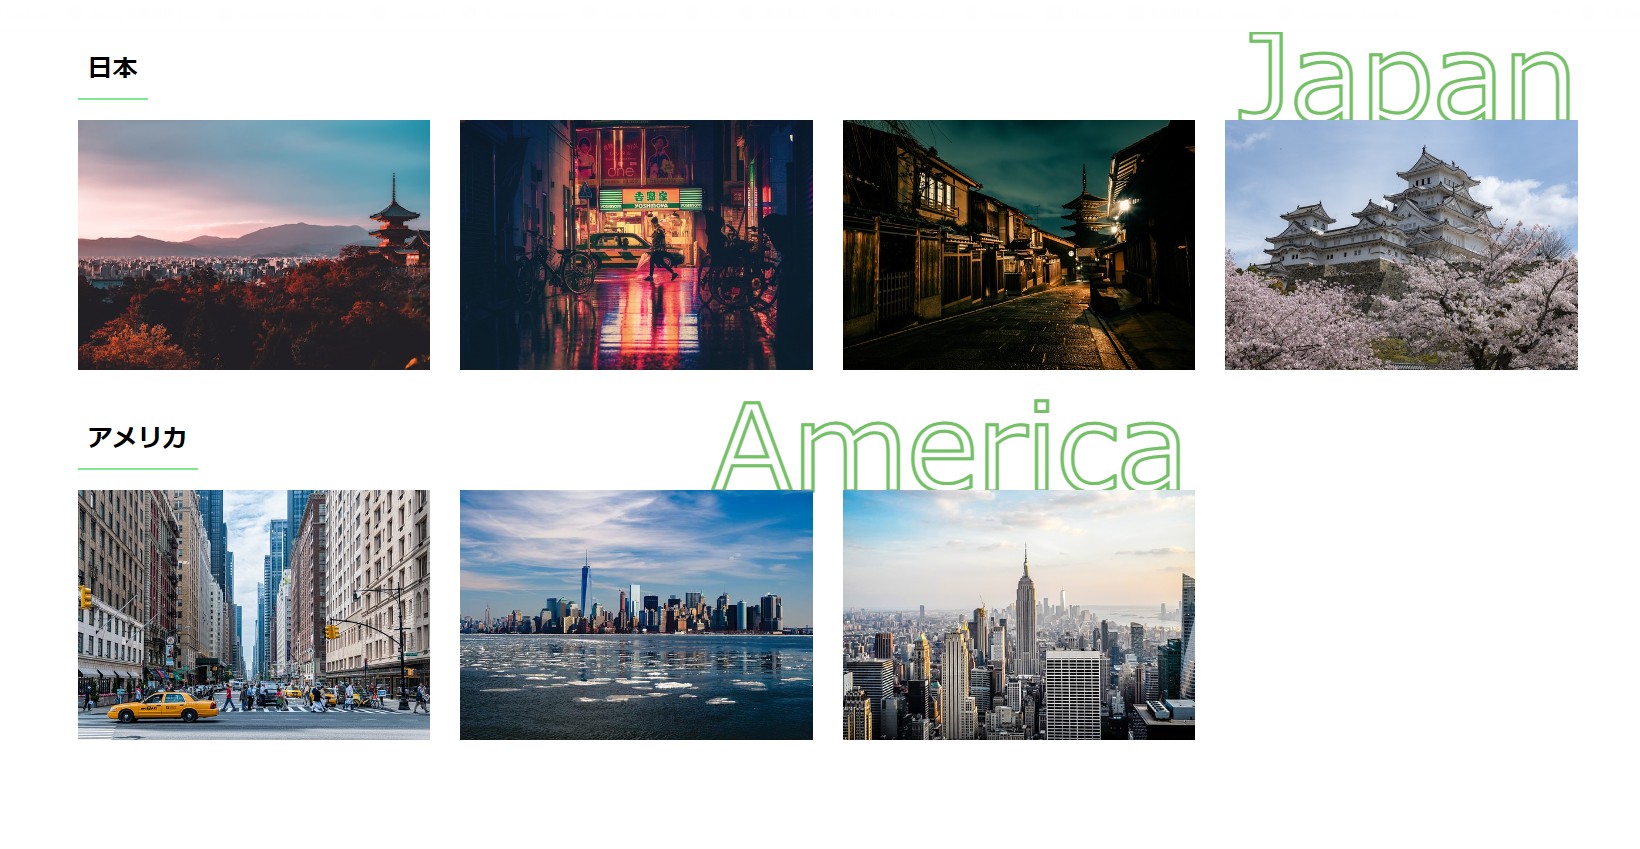
画像のリストを横並びにして、その右端に文字を配置する設定。
今回は、グリッドレイアウトを使ってやってみました。
他にもflexも試したが、今回はグリッドレイアウト
を使った方がレスポンシブを考えると簡単に
実装できたのでその方法を記事にしました。
実際に完成したのが下記になります。
画面幅が1023px以上の時は画像4枚横並び
そこから、サイズに合わせて表示枚数変えてます。
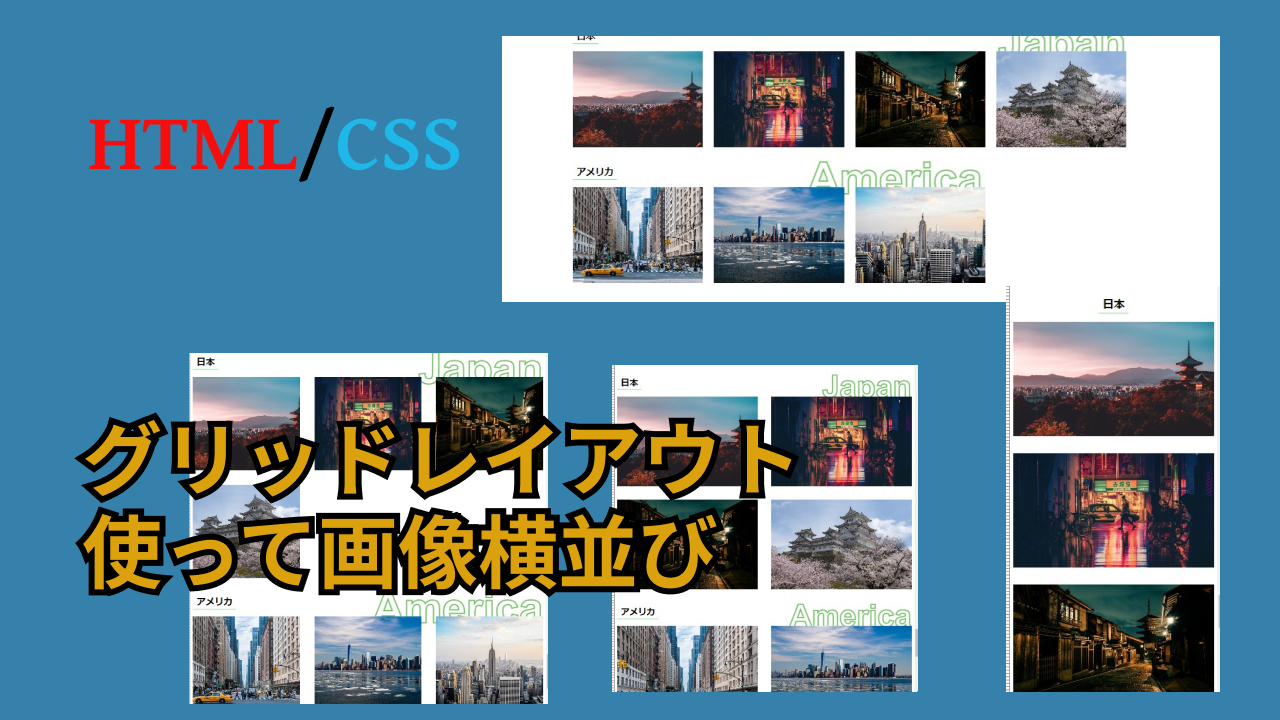
下記のような動きになりました。動画撮影はBandicam使用してます。
この動画はパソコン画面の動画撮影が簡単で録画できる
BANDICAM使ってます。無料でお試し可能↓
BANDICAM使ってパソコン画面動画はがとても使いやすくていい感じ!
実際に書いたコードをはここからです。
class名は適当につけてます。

HTML
<section class="imglist">
    <div class="imglist-wrapper">
      <div class="imglist-content">
        <div class="img-list">
          <h2 class="headline">
            日本
          </h2>
          <div class="img-list-innner">
            <p class="greenline-text">
              Japan
            </p>
            <div class="img-contents">
              <img src="./images/j_1.jpg" alt="japan1" class="img-item">
              <img src="./images/j_2.jpg" alt="japan2" class="img-item">
              <img src="./images/j_3.jpg" alt="japan3" class="img-item">
              <img src="./images/j_4.jpg" alt="japan4" class="img-item">
            </div>
          </div>
        </div>

        <div class="img-list">
          <h2 class="headline">
            アメリカ
          </h2>
          <div class="img-list-innner">
            <p class="greenline-text america">
              America
            </p>
            <div class="img-contents">
              <img src="./images/a_1.jpg" alt="america1" class="img-item">
              <img src="./images/a_2.jpg" alt="america2" class="img-item">
              <img src="./images/a_3.jpg" alt="america3" class="img-item">
            </div>
          </div>
        </div>
      </div>
    </div>
  </section>
CSS
@charset "utf-8";
* {
  box-sizing: border-box;
}


.imglist-wrapper{
  width: 100%;
  max-width: 1500px;
  margin: auto;
}

.imglists-content{
  width: 100%;
  margin: auto;
}

.img-list{
  text-align: left;
  margin-top: 40px;
}

.img-list:first-child{
  margin-top: 0;
}

h2{
  margin: 0;
}

.headline{
  font-size: 25px;
  color: #000;
  display: inline-block;
  padding: 10px;
  border-bottom: 2px solid #7bec8e;
  margin-bottom: 20px;
}

.img-list-innner{
  position: relative;
  z-index: 1;
}

.img-item{
  width: 100%;
  height: 250px;
  object-fit: cover;
  vertical-align: bottom;
}

.img-contents{
  display: grid;
  gap: 30px;
  grid-template-columns: 1fr 1fr 1fr 1fr;
}

p{
  margin: 0;
}

.greenline-text{
  font-size: 120px;
  color: transparent;
  -webkit-text-stroke: 3px #74c067;
  position: absolute;
  top: -126px;
  right: 0;
  z-index: -1;
}

.greenline-text.america{
  right: 26%;
}
レスポンシブ対応で書いたコードも記載していきます。
レスポンシブのブレイクポイントは今回は
画像が崩れるところで入れてます。
変更したところだけ書いていきます。
1023px以下の場合

画像の横並びの数を3枚に変更。
アメリカの文字の位置を調整。
CSS
@media screen and (max-width: 1023px){
  .img-contents{
    gap: 40px;
    grid-template-columns: 1fr 1fr 1fr;
  }

  .greenline-text.america{
    right: 0;
  }
}
900px以下の場合

画像の横並びの数を2枚に変更。
右端の文字のサイズ・位置調整。
CSS
@media screen and (max-width: 900px){
  .img-contents{
    grid-template-columns: 1fr 1fr;
  }

  .greenline-text{
    font-size: 90px;
    top: -95px;
  }
}
500px以下の場合

画像の横並びの数を1枚に変更。
headlineの文字の位置・サイズ変更。
右端の文字表示なし。
CSS
@media screen and (max-width: 500px){
  .img-contents{
    grid-template-columns: 1fr;
  }

  .img-list{
    text-align: center;
  }

  .headline{
    font-size: 25px;
  }

  .greenline-text{
    display: none;
  }
}
今回はこんな感じで設定しました。
画像の枚数が多い場合は、swiperを使うと
いい感じで表示できると思います。
今回は枚数が少なかったので、グリッドレイアウト
のみで実装しました。
この辺のやり方は、色々あるので自分のやりやすい
方法でやるといいです。
今回のコードはよければ、1例として参考にしてください。
この実装は先のも書きましたが、フレックスボックスでも
実装可能です。
YouTube動画はこちら


コメント